skip to main |
skip to sidebar
Long time ago I have already coloured with silk paper, now I have tried it again. The first is made
on Encaustic card and Ryn stencil and the 2.on Watercolor card with IC stencil. This Tutorial show how I made it with water splashes.Unfortunately the scanner doesn't show the colours as well.
.... ....
....
I made a background in Bokeh technique. After that I stamped the ball juggler from Katzelkraft stamps set Cirque over and mirrored him once again on the right side.Then I have extended the bodies downwards and overpainted both with Neocolors. After that I made the ballons shiny and three-dimensional with Glossy accents and some highlights with white gelpen. I painted stripes for a frame and glued them around. At last I added the sign with the name CIRQUE, also from the stamps set, above in the middle. (Deutsche Beschreibung unten/german description below)
 ....................
 Ich habe einen Hintergrund in Bokeh Technik gemacht und den Balljongleur von Katzelkraft stamps set Cirque drübergestempelt und ihn auf die rechte Seite nochmals gespiegelt und die Körper nach unten verlängert. Dann habe ich bei Beiden die Hintergrundfarben mit Neocolors übermalt. Danach hab ich die Ballons glänzend und dreidimensional mit Glossy accents und einige Highlights mit weissem Gelpen hervorgehoben. Ich habe für den Rahmen Streifen bemaIt und drumherum geklebt und zuletzt das Zirkus Schild oben in die Mitte.
For my tag I used the Grunge skull and the quote from this stamps set Hologe also the upper end of a column
from the I've turned him upside down and stamped with black
StazOn then added white contours as highlights. I hope you like it. (Deutsch unten/German below)
 ..
.. Für das Tag habe ich Grunge skull ,den Spruch vom stamps set Hologe und das Kapitell von der architecture Platte, auch als Einzelstempel stamp erhältlich, benutzt. Den Stempel hab ich umgedreht benutzt. Alle Stempel habe ich mit StazOn black gestempelt und mit weissem Gelstift Highlights auf die Konturen gesetzt.
My 2. Guest Designer card for Katzelkraft The background is made with blowing colors and the
speckles are splashed with a toothbrush. Then I stamped these amazing new stamp on top (click to enlarge). I hope you like it too and I'm glad you leave a comment. (deutsche Erklärung unten)
..

Meine 2. Gast-Designerkarte für Katzelkraft Der HG ist mit gepusteten Farben gemacht und die
Sprenkel mit einer Zahnbürste.Dann hab ich den neuen Stempel benutzt (so wie er abgebildet ist)
Ich hoffe die Karte gefällt Dir und ich freue mich wenn Du mir einen Kommentar da lässt.
I have sawn that J.Balzer tutorial and was so taken with the brilliant coloring that I must try it too and
I can say I like the result, you too? Then please give me a comment.I wish you've fun if you also test it .
 .....
.....
I want to try the BOKEH Technique on colorful background, cause I love the effect.
This was my 1.Bokeh card with white background. Online you can see many different
samples on Pinterest or Video. Bokeh is suited to adapt too coloured backgrounds
well in addition. Here is my sample. I hope you like it and wish you fun trying it too.
(deutsche Beschreibung unten)
....
Ich wollte die BOKEH Technik auf buntem HG testen, weil ich den Effekt mag.
Verschiedene Beispiele gibts hier auf Pinterest oder Video. Bokeh ist auch prima
geeignet zu bunte Hintergründe zu mildern durch die weissen Kreise. Dies war
mein 1. Versuch auf weissem HG. Ich wünsche Euch viel Spaß beim Probieren.
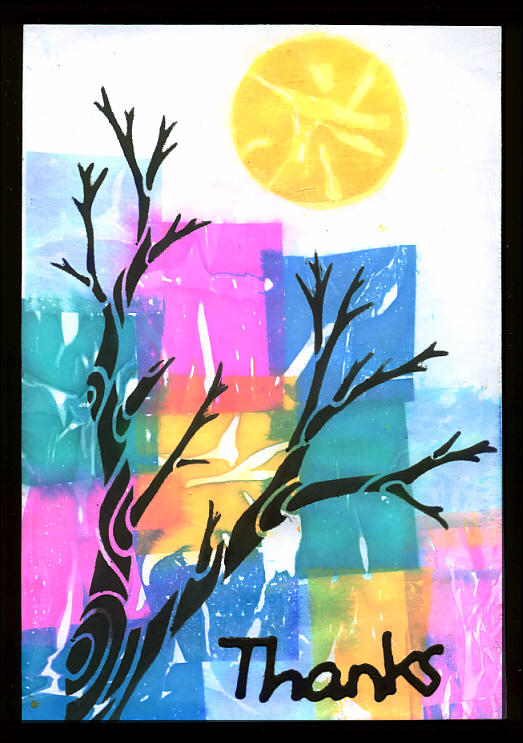
Outside the sun is shining brightly, that inspired me to this summer card.The background is made with plastic wrap technique.
Then I stamped the face from Stampendous on top and added all the other cut out
stamps from Designs by Ryn and my written words.
 ....
....

Inspired by this Video I try it myself, that are the first results. I wish you fun, if you try it too.
..
 ..
..

The background is made with plastic wrap technique I glued the colored clown fishes on top (the right fish is mirrored) and the School of Fish Set which I stamped in orange and then draw black stripes over. At last I added Rising bubbles stamped on transparent paper. I hope you like it and I'm glad if you leave a comment. Thanks for coming by. (deutsche Beschreibung unten)
... Der Hg ist mit Folienknautsch technique gemacht. Darauf hab ich die eingefärbten clown fishes geklebt (den rechten Fisch hatte ich gespiegelt)und das School of Fish Set welches ich orange gestempelt habe und dann mit schwarzen Streifen übermalt habe. Zuletzt hab ich die Rising bubbles auf Transparentpapier gestempelt. Ich hoffe sie gefällt Euch, ich freue mich über einen Kommentar. Vielen Dank für den Besuch.
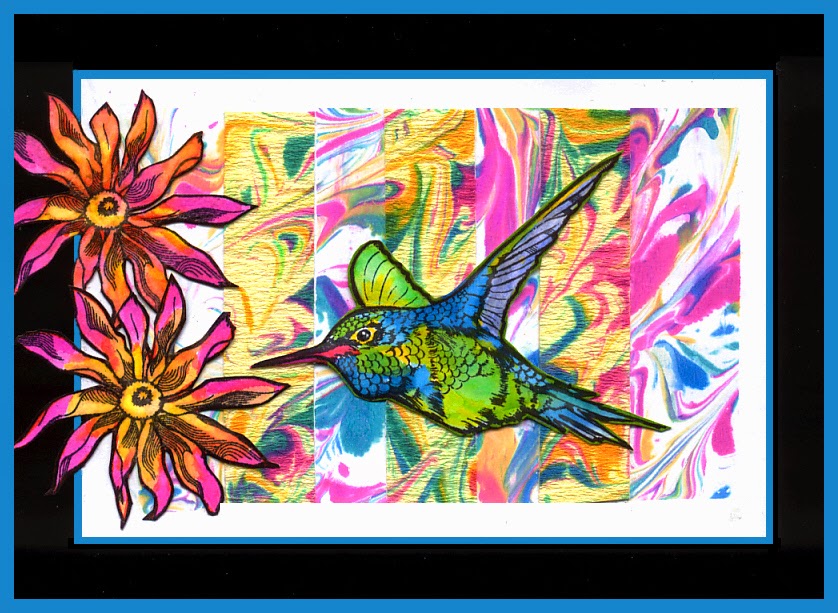
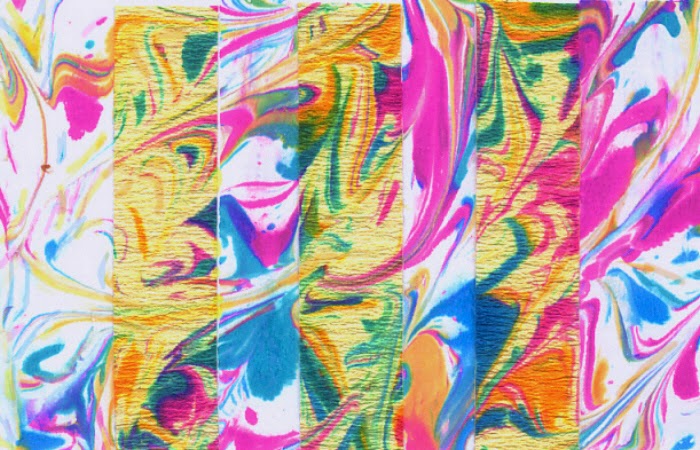
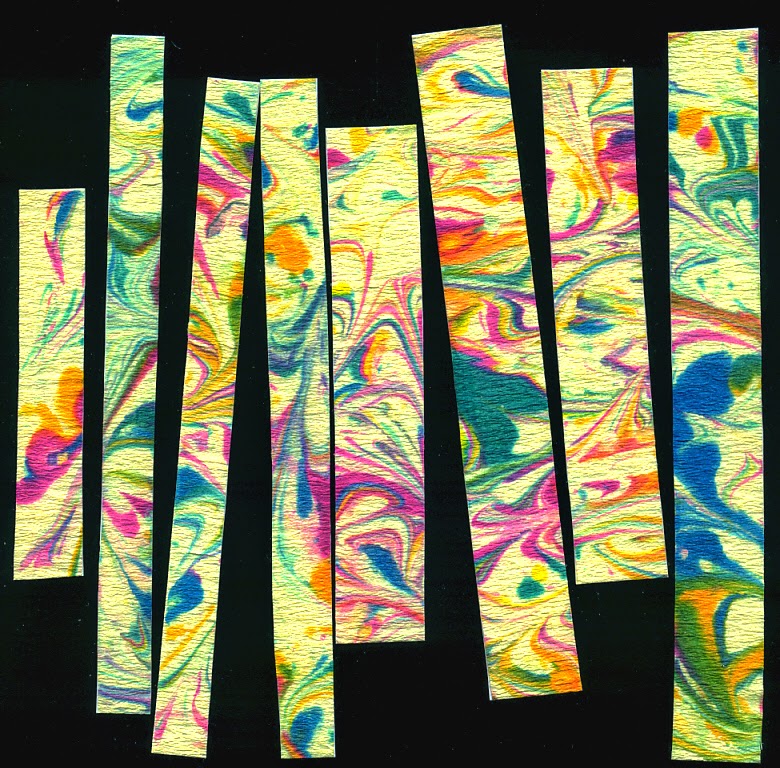
Please read the technique description in the post before. This time I put some painters stripes on a background with spaces
between them and colored then with shaving foam. After coloring I delete the tapes and wiped the spaces irregular a bit
with yellow-orange, then I glued the stamps from Ryn Design on top. Linked to AJJ I'm glad you leave a comment.
(deutsche Beschreibung unten)
.... Bitte lies die Technik Beschreibung vom vorherigen post. Diesmal habe ich Malerkrepp in Abständen auf den Untergrund geklebt,
alles zusammen mit buntem Rasierschaum eingefärbt und danach die Streifen wieder angezogen. Die dadurch entstandenen
Zwischenräume hab ich etwas unregelmässig mit gelb-orange gewischt. Zuletzt habe ich dei Stempel alle von Ryn Design
aufgeklebt. Danke für's Anschauen, viel Spaß beim Nacharbeiten, ich freue mich sehr über einen Kommentar.
Verlinkt habe ich zu AJJ
Bitte lies die Technik Beschreibung vom vorherigen post. Diesmal habe ich Malerkrepp in Abständen auf den Untergrund geklebt,
alles zusammen mit buntem Rasierschaum eingefärbt und danach die Streifen wieder angezogen. Die dadurch entstandenen
Zwischenräume hab ich etwas unregelmässig mit gelb-orange gewischt. Zuletzt habe ich dei Stempel alle von Ryn Design
aufgeklebt. Danke für's Anschauen, viel Spaß beim Nacharbeiten, ich freue mich sehr über einen Kommentar.
Verlinkt habe ich zu AJJ

 ....
....


.jpg)


